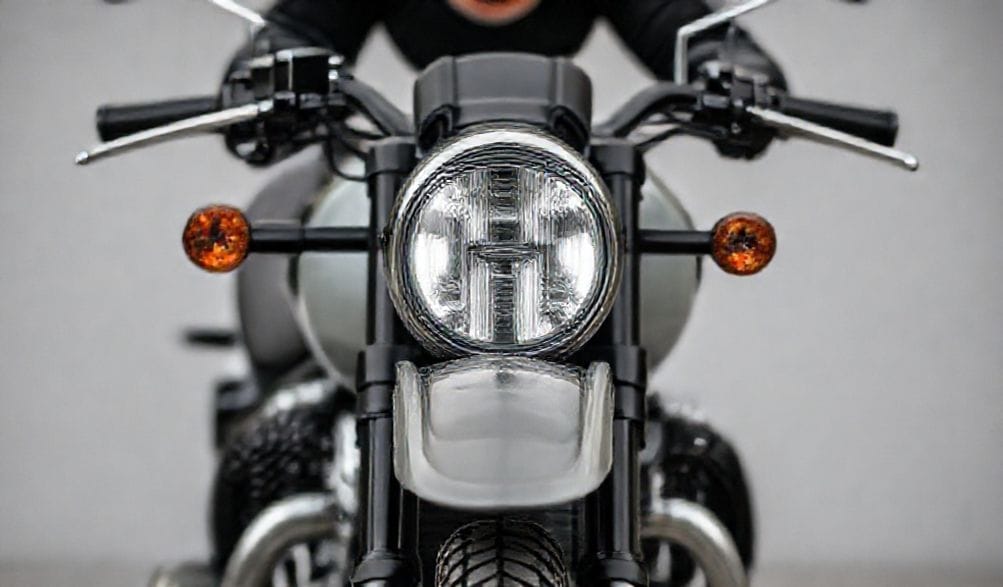
The Ultimate Guide to Surron Front Fenders: Protection, Performance & Upgrades
You’re carving through a favorite single-track trail after a recent rain. The ride is electric—literally and figuratively. Then, you hit that hidden, water-filled rut. Without warning, a rooster tail of mud and grit arcs up from your front wheel, coating your goggles, your chest, and the entire front end of your Surron Light Bee. Suddenly, the thrill is dampened by a cold, dirty spray and the nagging worry about what that muck is doing to your bike’s sensitive electronics.
If this scene is familiar, you’ve already learned the hard way why a front fender is more than just a piece of plastic. For Surron owners, the stock front fender is often the first component to be upgraded or replaced, and for good reason. This comprehensive guide is built on hands-on experience and a deep dive into the aftermarket, designed to be your expert resource. Whether you’re looking to solve a practical problem, boost your bike’s off-road capability, or simply nail its aesthetics, choosing the right Surron front fender is a critical decision. We’ll break down the why, the what, and the how—covering materials, top brands, installation, and maintenance—so you can ride with more confidence and less cleanup.
Why a Quality Front Fender is Essential for Your Surron
It’s easy to dismiss the fender as a simple accessory, but its role is foundational to both protection and performance. Upgrading from the minimal stock piece is one of the most impactful, cost-effective mods you can make.
Defend Against the Elements: Mud, Water, and Debris
The primary job of any fender is interception. A well-designed Surron front fender acts as a shield:
* For the Rider: It blocks the constant stream of water, mud, and small debris kicked up by the front tire, keeping you drier and cleaner.
* For the Bike: It protects critical components. Mud packed into the steering stem can accelerate bearing wear. Water and grit are the sworn enemies of fork seals. Most importantly, it prevents a direct spray onto the battery compartment, controller, and wiring harnesses, reducing the risk of corrosion and electrical issues.
Enhance Riding Performance and Safety
Protection directly translates to better, safer rides.
* Maintained Visibility: In wet conditions, a proper fender drastically reduces the amount of spray hitting your visor or goggles, preserving crucial vision.
* Uncompromised Control: Larger debris like stones or sticks can, in rare cases, get lodged between the tire and fork, potentially affecting steering. A fender minimizes this risk.
* Longer Service Intervals: By keeping contaminants away from fork seals and bearings, you extend the time between costly services and rebuilds.
Personalize Your E-Dirt Bike’s Aesthetics
Let’s be honest: looks matter. The front fender is a dominant visual element on any bike. Swapping the stock unit for a sleek carbon fiber piece, a rugged long-style fender, or a color-matched option is an instant style upgrade that personalizes your Surron and makes it stand out from the crowd.
Choosing the Right Surron Front Fender: A Buyer’s Guide
With a myriad of options, selecting the perfect fender comes down to material, design, and compatibility. Here’s the evidence-based breakdown to inform your choice.
Material Showdown: Plastic vs. Carbon Fiber vs. Aluminum
The material defines the fender’s character, weight, and price point.
- Plastic (Polyethylene/ABS): This is the workhorse. Modern, high-quality plastics like reinforced ABS are incredibly durable, flexible, and affordable. They can take a direct impact, bend, and often snap back without damage. This is the ideal choice for most trail and enduro riders who want great protection without worrying about every rock strike. The stock Surron front fender is plastic for good reason.
- Serat Karbon: The premium choice. Carbon fiber fenders offer a significant reduction in weight and a distinctive, high-tech aesthetic. They are very stiff, which can be a pro or con. The downside is cost and brittleness; a hard, direct impact on a sharp edge can crack carbon fiber where plastic might just flex. Best for riders prioritizing weight savings and style, often in moto or supermoto setups.
- Aluminum: The heavy-duty option. Typically seen on hardcore enduro or adventure bikes, aluminum fenders are nearly indestructible. The trade-off is weight and potential for transmitting vibration. For the average Surron rider, this is overkill, but it remains an option for those who demand absolute maximum durability.
Style & Design Considerations: Length, Width, and Mounting
- Length & Coverage: Short, motocross-style fenders look aggressive and minimize weight but offer less protection. Long, enduro-style fenders provide superb coverage for you and the bike, especially in muddy or wet conditions. Your typical riding environment should guide this choice.
- Mounting: Bolt-on, model-specific fenders are the gold standard for the Surron. They use the existing mounting points for a perfect, hassle-free fit. Universal atau adapter kit fenders (like those designed for KTM/Husqvarna bikes) can work but often require drilling, trimming, or fabricating brackets. Unless you enjoy fabrication, stick with Surron-specific parts.
Compatibility Checklist: Light Bee X, Storm Bee, and Model Years
Ini tidak bisa terlalu ditekankan: always verify compatibility. The Surron Light Bee (and Light Bee X) has seen subtle changes over model years, and the newer Storm Bee has a different fork/fender mount design entirely. A fender for a 2021 Light Bee may not fit a 2023 model without modification, and it almost certainly will not fit a Storm Bee. Double-check the product listing for your exact model and year before purchasing.
Top-Rated Surron Front Fender Upgrades & Brands
Navigating the aftermarket can be tricky. Here’s a curated look at the popular categories and what they offer.
Premium Performance Pick: Carbon Fiber Fenders
For the rider seeking the ultimate in lightweight style.
* What to Look For: Brands that offer 2×2 or forged carbon weave patterns. Many are direct replacements for the stock fender, using the same four-bolt pattern.
* Kelebihan: Dramatic weight reduction, stunning visual appeal, and increased stiffness.
* Kekurangan: High cost, susceptibility to cracking from sharp impacts, and can show scratches more easily.
* Brand Note: Many reputable carbon parts manufacturers for dirt bikes have expanded into the Surron market. Look for brands with clear compatibility charts.
Best Value & Durability: Heavy-Duty Plastic Fenders
The sweet spot for 90% of riders.
* What to Look For: Fenders made from thick, textured ABS plastic. Many aftermarket options are actually more robust than the stock part. Look for designs that offer improved coverage (longer/wider) while maintaining a clean look.
* Kelebihan: Excellent impact resistance, affordable price, wide variety of styles and colors (including pre-printed graphics), and easy to replace if you do manage to break one.
* Kekurangan: Heavier than carbon, aesthetic is more utilitarian.
* Brand Note: Several dedicated Surron accessory companies produce excellent high-quality plastic fenders that are direct bolt-ons.
OEM Replacement & Simple Solutions
Sometimes, simple is best.
* When it Makes Sense: If you broke your stock fender and want an exact replacement to maintain the original look. OEM parts are readily available and guarantee a perfect fit.
* The Upgrade Path: Even here, you can often find OEM-style fenders in different colors (like white or black) from third-party suppliers for a minor customization.
How to Install a Surron Front Fender: Step-by-Step Guide
Installing a bolt-on Surron front fender is one of the easiest mechanical jobs you can do. Here’s how to get it done right in under 15 minutes.
Tools You’ll Need
- A set of hex keys (Allen wrenches) or a T-handle set. Typically 4mm or 5mm for Surron fender bolts.
- A clean workspace.
- (Optional but recommended) A torque wrench for carbon fiber fenders.
Installation Walkthrough for Bolt-On Fenders
- Preparation: If your bike is dirty, wipe down the front fork area to prevent debris from falling into the threads. For absolute safety, you can turn the bike off, though it’s not strictly necessary for this job.
- Remove the Old Fender: Using your hex key, loosen and remove the four bolts (two on each side) that secure the fender to the fork guards/bridge. Support the fender as you remove the last bolt to let it drop free.
- Position the New Fender: Align the new fender with the mounting holes on the fork. It should sit flush. You may need to gently flex it to get all holes to line up.
- Install and Hand-Tighten Bolts: Insert all four bolts and thread them in by hand to avoid cross-threading. Ensure any spacers or washers included with the new fender are in place.
- Pengencangan Akhir: Snug down the bolts in a criss-cross pattern (top left, bottom right, top right, bottom left) to ensure even pressure. Do not overtighten! For plastic fenders, tighten until firm. For carbon fiber, use a torque wrench if possible (often spec’d around 5-7 Nm) to avoid crushing the material.
Troubleshooting Common Fitment Issues
- Holes Don’t Line Up Perfectly: Gently flex the fender. If it’s a quality bolt-on part, minor pressure should align them. Never force a bolt.
- Fender Rubs the Tire: Check that you haven’t pinched a wire or cable underneath. Ensure all mounting hardware is correct. Some fenders may require a small spacer (a washer) on the lower bolts to tilt the fender forward slightly.
- Stripped Bolt Hole: If you overtighten and strip the aluminum threads in the fork, you may need to install a helicoil thread insert. This is a good reason to be cautious with torque.
Maintaining Your Front Fender for Longevity
A little care goes a long way in preserving your upgrade.
Cleaning Tips for Different Materials
- Plastic: Use mild soap, water, and a soft brush or cloth. Avoid harsh chemicals or abrasive cleaners that can dull the finish. A plastic protectant spray can help keep it looking new.
- Serat Karbon: Use cleaners specifically designed for carbon or automotive detailer. Wipe dry with a microfiber cloth. Regularly inspect for any hairline cracks, especially around mounting points, after a hard impact.
- General Tip: Remove caked-on mud before it fully hardens to make cleaning easier and prevent staining.
Inspection and Tightening Routine
Vibration is the enemy of all fasteners on a dirt bike. Make it a habit during your pre-ride check to give the fender mounting bolts a quick visual inspection and a gentle tug. Every few rides, use your hex key to ensure they are still snug. This simple 30-second check can prevent losing a fender mid-ride.
Frequently Asked Questions (FAQ) About Surron Front Fenders
Q: Will a longer front fender affect my Surron’s handling?
A: No. The weight difference between a short and long fender is measured in grams. The change in handling is imperceptible. The primary effect is dramatically improved protection from spray.
Q: Can I use a fender from a different dirt bike on my Surron?
A: Not directly. Mounting points are unique. While universal or KTM-style fenders can be adapted with custom brackets and drilling, it’s a project. For a guaranteed, clean fit, a Surron-specific front fender is always the recommended route.
Q: How do I prevent my carbon fiber fender from cracking?
A: The key is proper installation and care. Use a torque wrench and follow the manufacturer’s torque specification (often very low, like 5-6 Nm). Use nylon-insert lock nuts or thread locker on the bolts to prevent them from vibrating loose, which can cause stress. Avoid direct, sharp impacts.
Q: Is a front fender necessary for street-only riding?
A: While less critical than for off-road, it is still highly recommended. It protects the bike and rider from road spray, kicked-up pebbles and tar, and gives the bike a more finished, legal appearance. Many municipalities require functional fenders for street registration.
Kesimpulan
Memilih dan memasang Surron front fender is a straightforward upgrade that pays massive dividends in protection, cleanliness, and style. It’s a foundational mod that demonstrates a thoughtful approach to your bike’s setup. Whether you opt for the rugged practicality of a heavy-duty plastic fender or the premium appeal of carbon fiber, the key is to select a model-specific, bolt-on part that matches your riding style.
Armed with the knowledge from this guide—from material properties to installation torque—you can make an empowered decision and execute the upgrade with confidence. Remember, this isn’t just about adding a part; it’s about enhancing your entire riding experience. So, check your Surron’s model year, browse the recommended styles, and get ready for a cleaner, more personalized, and better-protected ride on every trail and street ahead.
METADATA_START—
DISPLAY_TITLE: The Ultimate Guide to Surron Front Fenders: Protection, Performance & Upgrades
SEO_TITLE: Surron Front Fender Guide 2024 | Buy, Install & Maintain
META_DESC: Expert guide to Surron front fenders. Compare plastic vs carbon fiber, learn installation, see top brands, and choose the best upgrade for your Light Bee or Storm Bee. Ride cleaner & safer.
IMG_PROMPT: A Surron Light Bee X electric dirt bike with an aftermarket carbon fiber front fender, parked on a muddy forest trail, with water droplets on the fender, dynamic side angle shot, professional photography, sharp focus
—METADATA_END—